
Alright since we created a client in the last tutorial, I think it’s now appropriate to address my IDE of choice: VS Code! Specifically, some keyboard shortcuts, configurations, and extensions that I personally use, both personally and at my job.
Keyboard Shortcuts
Why do I need to use keyboard shortcuts?
Well, it’s a valid question. You can interact with VS Code using your mouse, but it will slow you down! Have you ever typed an essay or a report in a word document or google doc, and had to navigate through the text? Usually, you would use your arrow keys because taking even your dominant hand off the keyboard to use the mouse breaks your flow of typing. The same applies to VS Code! The more time you can keep your hand on the keyboard, the more you can keep yourself in the coding zone.
The list of keyboard shortcuts I’ll include is not comprehensive but what I personally use. I’m going to leave out the basic ones I think even people who don’t type code know, like cut, copy, paste, undo, and redo. If you want to see more, you can refer to these Windows, macOS, and Linux documents. Last side note, my personal computer is also a Windows, so I will place shortcuts for those below.
- Alt + up/down arrow – Moves one line of code your cursor is next to up or down a line. You can also highlight lines of code to move multiple lines up or down. Use instead of cutting and pasting code over small distances.
- Alt + shift + up/down arrow – Creates a copy of the highlighted code either above or below it. Use instead of copying and pasting code close to each other.
- Ctrl + a – Highlights all the code in a file. Use instead of dragging your cursor over every line of code in a large file.
- Ctrl + b – Toggles the VS Code sidebar. Use instead of toggling it with your mouse.
- Ctrl + d – Highlights a word your cursor is next to. Subsequent uses highlight instances of the same word in the file. Use to modify multiple instances of the same word simultaneously (e.g. renaming a variable).
- Ctrl + j – Toggles the VS Code terminal. Use instead of toggling the terminal from the navbar.
- Ctrl + k – Clears the terminal. Use to empty the terminal more readable.
- Ctrl + l (That’s an L by the way) – Highlights a line of code your cursor is next to. Subsequent uses highlight lines below it. Use to modify multiple lines of code simultaneously.
- Ctrl + shift + l (Again another L) – Highlights all instances of a word in a file that your cursor is next to. Use instead of Ctrl + d if you need to modify every instance of that word.
- Ctrl + p – Toggles the command palette. Use it to search for and open files in your folders, and some additional features mentioned below.
- Ctrl + shift + p – Search and execute any VS Code or Extension commands (e.g. reload window). You can also type > in the command palette to trigger this feature.
- Ctrl + s – Saves your file. Use instead of saving from the navbar.
- Ctrl + / – Toggles commenting on a line of code your cursor is next to. You can also highlight lines of code to comment and uncomment multiple lines. Use instead of manually commenting lines of code.
- Ctrl + shift + . (Don’t forget the period) – Navigate your file by symbols. Use if you’re looking for a specific variable, function, class, etc. You can also type @ in the command palette to trigger this feature.
- Ctrl + up/down arrow – Scrolls through a file. Use instead of your mouse’s scroll wheel or dragging the scrollbar.
- Ctrl + left/right arrow – Navigates the text in the terminal. This is the only way to navigate in case you type a mistake!

Favorite Extensions
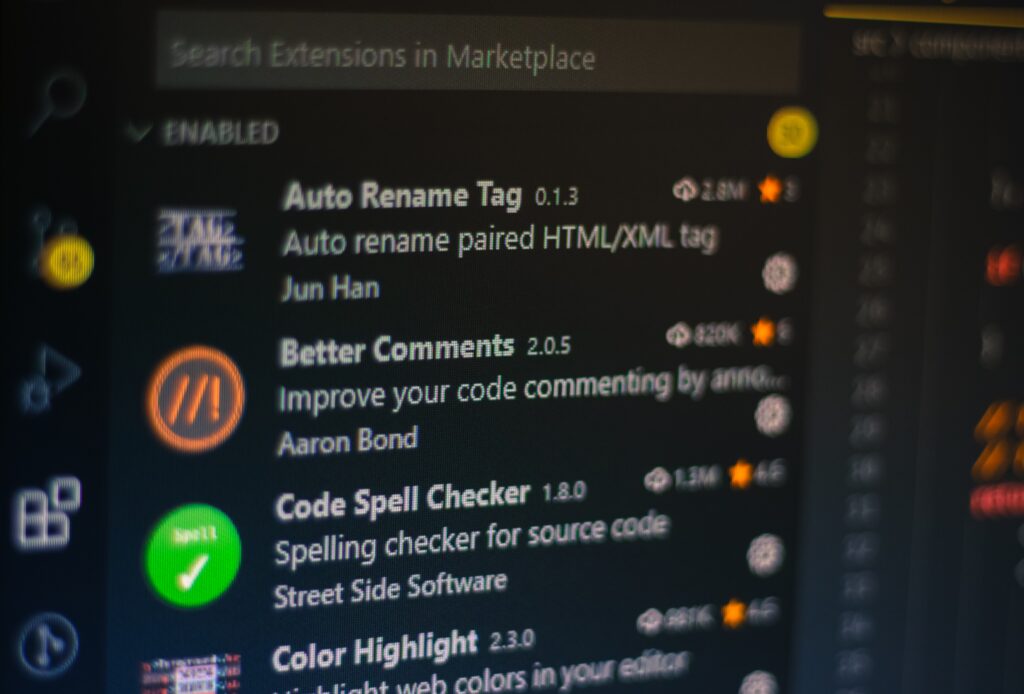
Next, let’s go over my favorite extensions in alphabetical order! They mostly provide some quality-of-life changes, but some help in rooting out potential bugs. I’m going to place some superscripts by each extension’s name that signifies if it’s good for personal projects1, in an actual job setting2, and for specific technologies3.

:emojisense1 is great if you really need an emoji for your personal portfolio or an emoji feature for your social media app. However, I mostly like to use though to follow the chain of logic. Instead of console logging text, I place an emoji instead and it makes it really easy to see in the console or the terminal which functions executed in order. Lastly, you can easily open a list of emojis with ctrl + i.
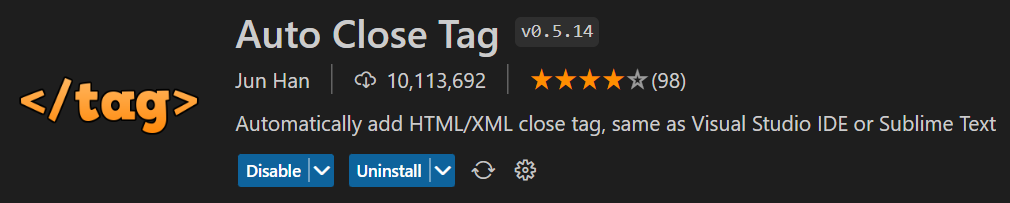
Auto Close Tag12 automatically closes HTML tags that you type. For example, if I typed <p> then this extension would automatically create the closing tag. Word of warning with Typescript though, if you cast a type, such as const [example, setExample] = <string>useState('Hello World'), it will create a close tag for it. You can easily undo this with ctrl + z though!
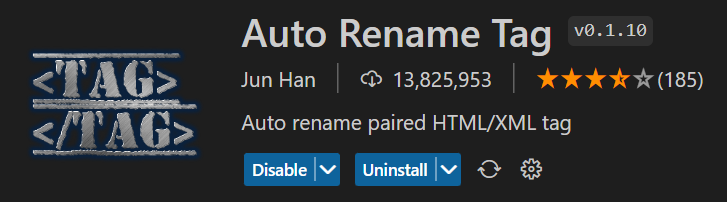
Auto Rename Tag12 will rename both the opening or closing HTML tags if you modify one of them. So, if you have <div>Test</div>, changing one of the tags to <p> will also change the other one as you type!

Auto-Open Markdown Preview1 automatically opens the preview version of a markdown file when you open it. I personally hold the project folders I’m working on in a Code folder, and I also have several .md files that explain how to use certain technologies, how to setup projects for certain technology stacks, etc. Opening the preview version automatically is really convenient to quickly read through the document! Also it’s really useful for editing the README.md in your project to make it look professional for your portfolio or resume! * HINT HINT WINK WINK FOR US NO DEGREE DEVELOPERS *

Better Comments12 is used to write more specific comments in the project. The default options that I use are // todo Feature/Asset to add later, // bug This is a bug, // ? I'm not sure what this code is used for, and // ! Do not touch this code or this is deprecated. You can also add your own comment tags and customize the colors in your VS Code settings! It’s extremely useful on big personal projects or one you haven’t touched in a while. I also love it in the workplace to communicate with other people on my team working on the same code.

Code Runner12 automatically runs any code in your output by right-clicking and clicking Run Code. I normally use this to test if a JavaScript function works when I’m too lazy to do a proper test with Jest or Vitest. Note that it will execute every function in a file, so you want to isolate functions in its own file like test.js.

CSS Peek13 is a must if you are a front-end developer! If you hover over any class or id in an HTML tag, it will display the CSS applied to that tag. Unfortunately, this only works with HTML and CSS and is not compatible with XML or SCSS, but it is amazing if you are first starting out.
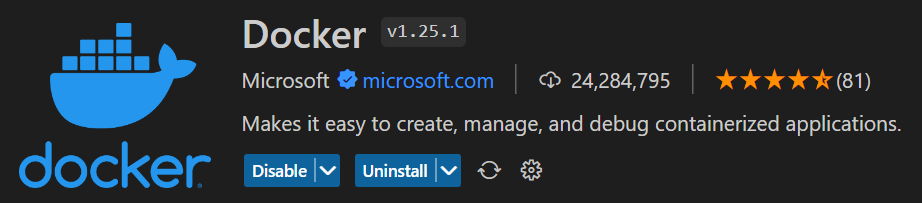
Docker’s23 extension is only recommended if you are familiar with how to use Docker! It has a whole suite of features that streamlines Docker Desktop, but the two I use the most are the auto-complete feature for typing Docker files, viewing errors in said files (ctrl + shift + m), and executing docker commands in the command palette.

ES7+ React123 snippets is some custom built snippets for one of the most popular front-end frameworks! I use it to easily generate boiler plate code for React components, Redux stores, and React Native components. This feature even works on anything built on top of React, including Next.js!

ESLint12 automatically lints your files for code errors/suggestions in VS Code. It will take either an ESLint file the project or, if it doesn’t exist, any global ESLint files in VS Code. Really useful for preventing bugs while coding, and I think it’s mandatory to include for best practices and because of how common it is in the industry (over 27 million downloads!).

GitLens2 is useful solely at work. It allows you to see a history of git changes, who made which changes, and, therefore, who to blame if the code breaks! You could also useful this for personal projects, but I think it’s overkill and requires you to read a lot of documentation. Time better used on learning more practical skills, such as basic git version control. * NUDGE NUDGE *
Import Cost12 automatically states how many bytes an import requires in your project. In a professional environment, it’s used to minimize packages for production and deployment in order to reduce the time and memory spent. From a personal perspective, it may be fun to install a whole bunch of dependencies, such as pre-built carousels, avatars, and dropdown menus. But you’ll learn that doing it yourself, although challenging at first, is beneficial in the long run. It also teaches you to find packages that are either smaller or do the work of several packages (e.g. Material UI for the previously mentioned features). It also enforces best practices like importing what you need instead of importing everything (import {useState} from "react" instead of import React from "react"), and can notify if you’re using the wrong package like when it’s import cost is 100 GB!
indent-rainbow12 is a mandatory extension! It colors the indents to make code readable, and I highly recommend it with the Prettier extension (see below).

Live Server13 is really helpful if you want to open a quick local server on a small project. I personally use it on basic HTML and CSS projects, although it does support other languages. I’ve never personally used it, but it’s listed in the description.

npm Intellisense123 does what it says: It provides auto-completion for imported npm packages using import. It works only with npm, not yarn, and only with the import syntax, not the require syntax.
Paste JSON as Code123 allows you to copy JSON and paste it any of the listed languages with types included! I love this when handling APIs where you get a lot of data (PokeAPI) and need to give each a type! It’s very time consuming and repetitive, but this extension does it in seconds! I personally use it with TypeScript and it’s fantastic.

Peacock2 allows you to color the navbar, sidebar, and terminal of your VS Code. Anyone who has worked as a web developer knows that you are likely to jump between several projects putting out fires. You can have two, three, even four VS Code windows open, each running on a different localhost. Coloring each one is great for differentiating between them, and helps you organize your workspace.

Pieces for VS Code12 allows you to create your own snippets. While I am aware you can already do this in VS Code, this streamlines the process and allows you to name the snippets. You do need a Pieces account but it’s free and is very useful for specific boiler plate code like setting up your backend folder’s index.js!
Prettier12 makes code readable and, if you read my above comment on the ESLint extension, it is basically the same but for Prettier files. The only difference is that instead of needing a global ESLint file, you configure your Prettier settings in your VS Code settings. This allows for infinite customization options and this extension will always execute when you save your file!

So I’m grouping Tailwind CSS IntelliSense123, Tailwind Documentation123, and Tailwind Shades13 together because all three should be used together although I will admit that Shades is not as important as the other two. CSS IntelliSense provides auto-completion when writing Tailwind, and it’s super helpful when you have custom Tailwind styling. Documentation opens their documentation in your VS Code by typing ctrl + alt + t. Lastly, Shades allows you to create nine shades of a chosen color. You put your cursor next to the color you want shades for, type ctrl + g, and it’ll autogenerate it with Tailwind syntax (e.g. custom-blue-100 to custom-blue-900). I only use it when I need a range of colors for day and night mode settings.
Turbo Console Log1 automatically inserts a console log for a variable your cursor is next to. Just type ctrl + alt + l (That is an L), and it’ll create it with a rocket ship icon to make it noticeable! It’s very convenient for looking for bugs or following the logic of a function.

Finally, we have vscode-icons12! All this does is give your folders and files a colorful icon depending on their naming convention or language respectively. It supports most naming conventions you would see in full-stack projects, such as client and server, and it also supports all of the languages I’ve used: HTML, CSS, SCSS, JavaScript, Typescript, Python, Docker, you name it! You can also customize the icons or include your own for any of the above! It helps in making the folder structure easier to navigate because all the folders look different!
TLDR – Top 10 VS Code Extensions for all developers are:
- Auto Close Tag
- Auto Rename Tag
- Better Comments
- Code Runner
- ESLint
- Import Cost
- indent-rainbow
- Pieces for VS Code
- Prettier
- vscode-icons
Various VS Code Tips
Since the last section was so long I’m going to just quickly run through some helpful tricks you can use in VS Code to make you more productive! * BIG BREATH *
Moving the sidebar to the right does not cause your code to jump every time you toggle it. This seems like a minor change, but it’ll stop your eyes from having to jump horizontally and will have a noticeable effect if you type code for long periods of time. You can move it by right-clicking in the sidebar then clicking Move Primary Side Bar Right.
If your line of code is really long and goes off the screen, you can open the command palette (ctrl + shift + p), type and open your settings.json, then add this "editor.wordWrap": "on". It will enable word wrap regardless of your VS Code screen size!

When creating folders and files in the sidebar, you can actually create multiple nested folders simultaneously! Instead of typing just your file name (e.g. test.js), you can type all the folders its in and the file (e.g. folder/nested-folder/test.js). It’s a lot faster than creating each nested folder individually!
If you have multiple terminals running, such as for the client and the api, you can rename and color the terminals so you can differentiate them more easily! You right-click on the terminal (e.g. mine is called bash because I use git bash), then click either Change Color to give it color, and/or Rename… to change its name. It allows you from accidentally closing important terminals, or clicking through terminals to find the right one!
And my favorite tip is renaming a symbol across your entire project! Sometimes you have a really big project and you realize the name you gave your variable, function, class, interface, whatever is very generic (handleSubmit or handleChange anyone?). In that case, you can right-click the symbol and click Find All References to show its appearance everywhere in the file! Then just right-click it again, click Rename Symbol, and it will rename the symbol everywhere! Really easy but there is a slight caveat… If you have symbols with the same name that do different things * COUGH HANDLESUBMIT *, it will change all their names so be careful!
Let the past make you better; not bitter.
~ Siddhartha Gautama aka the Buddha


[…] we’re going to do is open up our VS Code. Next we want to open our terminal (for Windows, ctrl + j is a nifty shortcut) and clone my sample project here. We’re going to clone the main branch by typing git clone […]